Trust is the foundation of any good relationship. This is especially true between a business owner and their customers. Testimonials are a key component in building trust with your target audience so having a page on your website to showcase great testimonials and customer review is a must!
In this post, we share some helpful tips on how to create an effective testimonials page and how to use the Mai Testimonials plugin to make the process super simple.
Why You Need a Testimonials Page on Your Website
There are mixed opinions whether or not you actually need a separate page on your website for testimonials, so I want to start by explaining why you do.
Selling to happy customers and fans is easy because they already know, like, and trust you. However, selling to strangers is far more difficult because they don’t yet have a relationship with you.
You need to prove that:
- You are who you say you are.
- You can do what you say.
- You can be trusted to deliver on the promises you make.
While great website copy and content marketing can help mitigate these concerns, they won’t earn the conversion rates you desire on its own.
You also need backup in the form of social proof. That’s why a having your own testimonials page is so important. It shows prospects that real people trust you and have had great results.
Placing a few of your best testimonials on your homepage, product pages, and other ecommerce pages can really help with conversions, but you need more. You need a testimonials page.
By creating a separate page for testimonials and positive reviews, your website visitors know right where to go to learn more about your work and if your products/services are a good fit for them.
A customer testimonials page also gives you a place to strategically organize different types of testimonials to target different groups of people. You can do this using testimonials categories.
Testimonials Page Content
Now, let’s plan your content for your testimonials page, then we’ll get into how to build your page and add testimonials to your site and page with the Mai Testimonials plugin. Here is the content you need…
1. Testimonials!
If you already have satisfied customers or clients, this should be pretty straightforward. Depending on your business though, you’re use case will be different. For example, in addition to general testimonials, retailers may also want to include things like product reviews, tweets, and star ratings. The latter you could pull in from social media and other sources using a plugin such WP Business Reviews. If you have a B2B business however, you’ll mainly rely on client testimonials.
But what if your website/blog is brand new, and you don’t have any testimonials yet?
Get started with character testimonials!
- Character testimonials speak to your character, not your work.
- They highlight your best personality traits and characteristics—those that prospective customers and clients would care about.
- Because they’re about YOU, you can source them from those who know you best—even if they have never worked with you.
As you get new testimonials from clients, replace your character testimonials or move them to your about page.
2. Introductory Text
You need a couple of sentences to go at the top of your testimonials page to introduce the testimonials and reinforce how the person reading can also experience results and outcomes similar to those described in these testimonials.
You could say something like…
Thanks for visiting [brand name] and considering us for [desired outcome/result or product/service]. Check out these testimonials from real customers to learn how our products / services helped them and could help you too.
If you plan to separate your testimonials by category, then you may want to come up with a couple of sentences to intro each of those sections as well.
3. Call to Action
It’s important to have a call to action on every page of your website—that includes your testimonials page. Make sure your CTA is clear so people are confident about taking the next step.
This may be to schedule a consultation, make a purchase, view pricing, or learn more.
To sweeten the deal and increase conversions include an incentive such as a free preliminary consult, trial offer, or money-back guarantee.
4. Form or Link to Collect Testimonials
A testimonials page is not only a great place to showcase all the wonderful things your customers have said about you, but it can also be a place to collect testimonials.
Consider adding a simple form to your testimonials page (or link to another page with a form) for anyone who may want to submit one.
Keep your form design simple so as not to distract from your primary CTA, or, put it on another page and link to it if you want to include a lot of fields.
5. Case Studies
Have you invested any time in case studies for your business? If not, you should! Case studies are an excellent way to showcase the quality of your work in a detailed way. Talk to your most satisfied customers and see if they would be open to sharing their success story. You can include customer quotes from the client, before and after images, metrics, graphs, video testimonials, and more.
Case studies are probably better suited on their own individual pages or posts, but you can (and should) link to them from your testimonials page. With Mai Theme this is easy! You can add a Mai Post grid wherever you want on the page, then simply select the case study posts or pages that you want to show with a thumbnail image linking out to to the page. High quality case studies can also provide strong SEO value.
How to Build Your Testimonials Page
This section details to how to build your testimonials page in Mai Theme with Mai Testimonials, though most of this process can apply to any WordPress website that utilizes the block editor.
1. Add Testimonials to Your Website
The Mai Testimonials plugin automatically creates a “Testimonials” custom post type where you can add your testimonials for use on your testimonials page or anywhere on your website.
If you are not using Mai Testimonials, or if you are, and already have testimonials, skip this step.
Once Mai Testimonials is installed and activated, you will see Testimonials show up on the left-hand sidebar on your Dashboard.
Select “Add New” to create a new testimonial. Include a name, the testimonial, byline (person’s title), website link (or social link such as LinkedIn), and image (headshot or company logo if you have it).
Testimonial Videos
If you have customer videos that you’d like to showcase then the process will be a bit different. First you’ll want to upload the video to YouTube or Vimeo. Then, you can add the video to your page by using the corresponding block. Add whatever other details you’d like. We recommend a heading and a snippet that details the brand or client name and a short description of the project and/or results. For multiple testimonial videos, you could arrange these using the Mai Columns block.
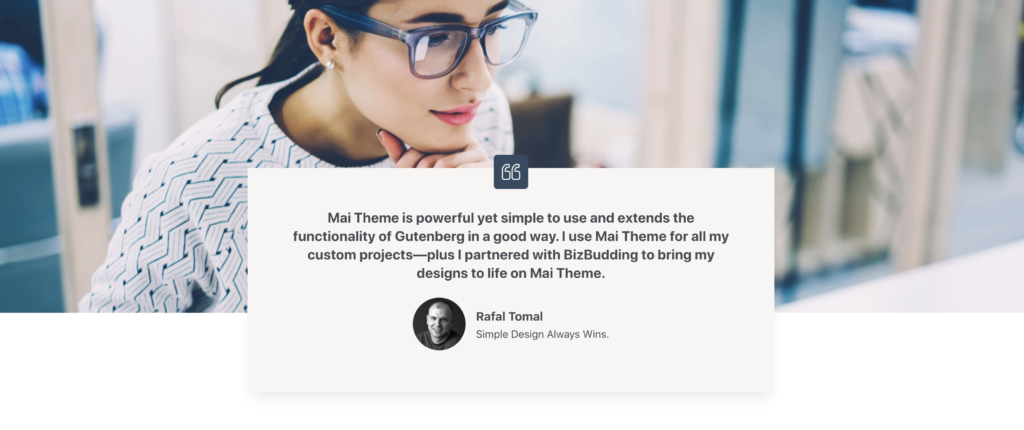
Here are some patterns that could work:

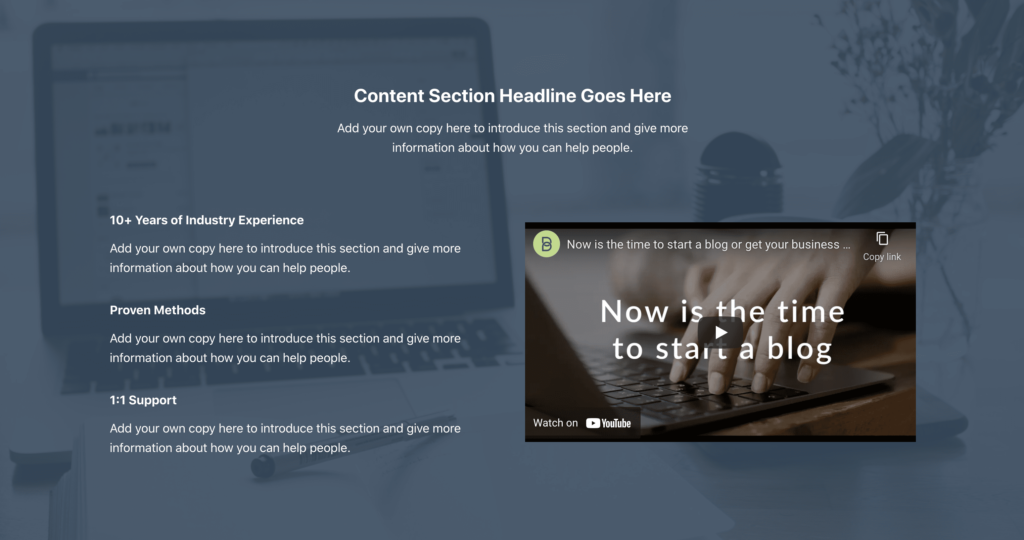
For this last one, just replace the image blocks with video blocks (e.g. YouTube, Vimeo, etc.).
2. Create Your Page
Create a new page, and name it Testimonials, Reviews, Customer Stories, or something similar. Don’t get too fancy, you want it to be obvious what the page is.
3. Add Intro Text
Add the intro text you’ve created to the top of the page. If you are sectioning your page by testimonial category, that text should go right before your testimonials.
4. Add Testimonials
On sites with the Mai Testimonials plugin, there are two ways you can do this:
- With the Mai Testimonials block
- With the Mai Post Grid block
Either will work, but our new Mai Testimonials block includes additional settings specifically for testimonials, so we recommend using that.
There are lots of ways you can display your testimonials. You can control:
- The number of columns for your grid
- Whether or not to show the name, byline, and image
- If you want to display with boxed styling
- If you want to enable a slider and if it should show dots, arrows, or both
- Which specific testimonials are shown
- Image location
- Name/byline location
- and much more!
See our Mai Testimonials help doc for full details on all settings.
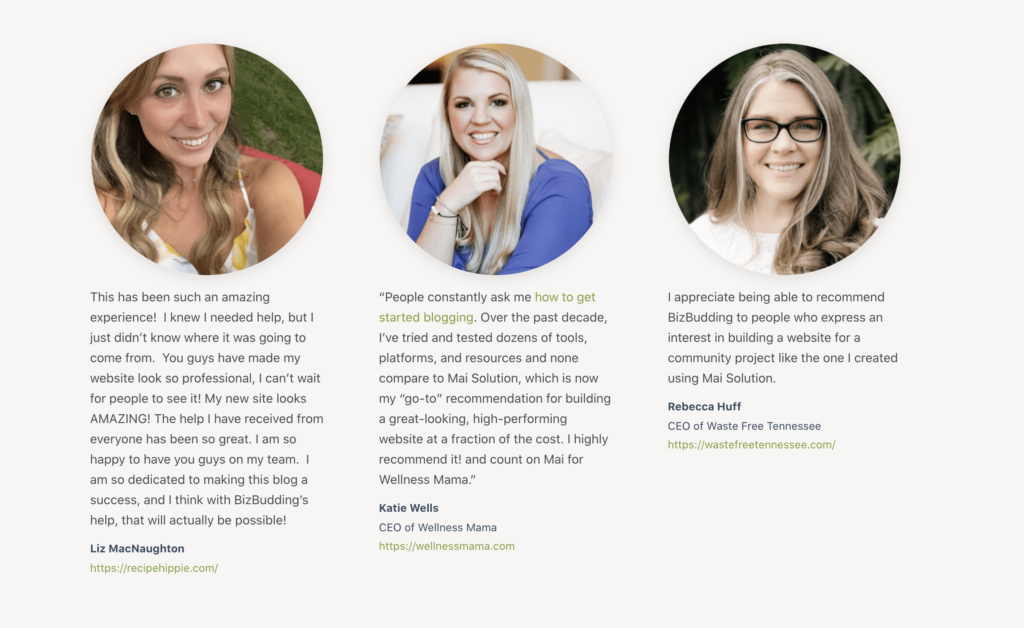
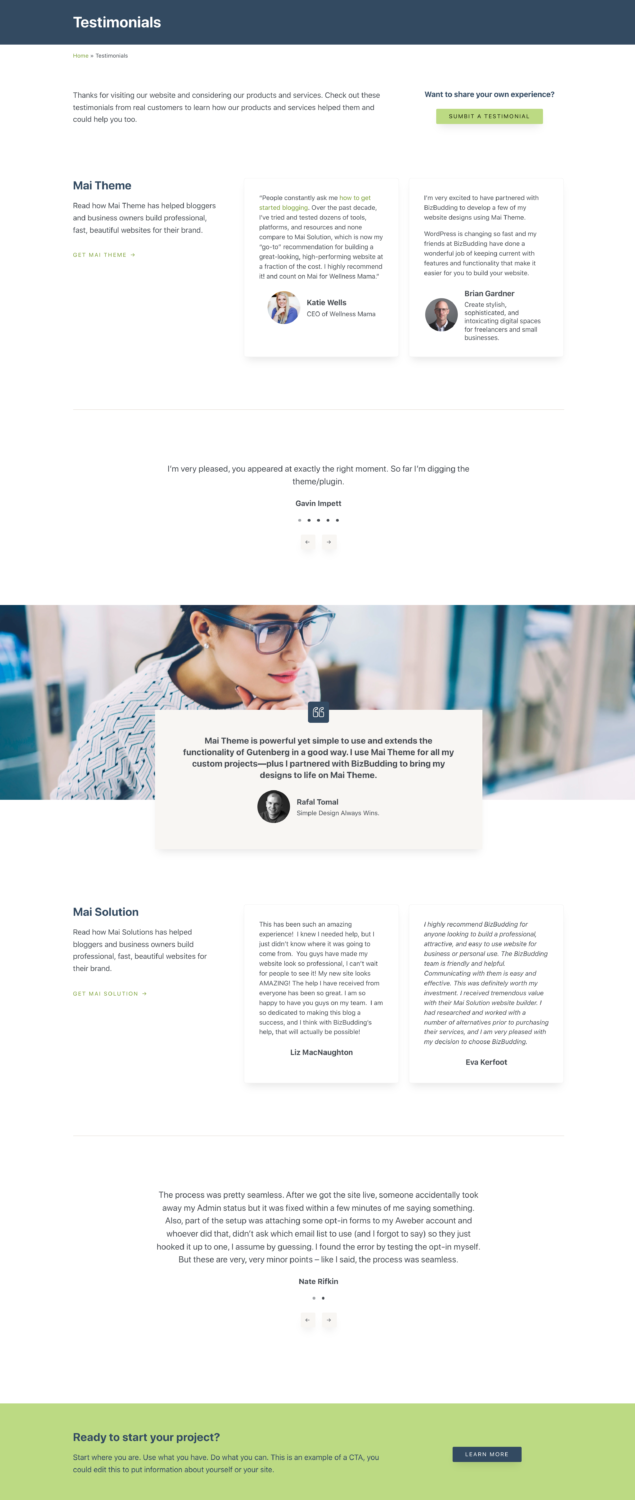
If you’re not using Mai Testimonials or want to have some fun with web design, you can add testimonials to your page manually with various types of blocks or combinations of blocks. Check out our testimonial page example for some inspiration.
Here are some patterns from that page:

5. Add a Form/Link
You can use a form plugin to do this, such as WPForms. Include fields for name, byline, testimonial, and website URL, so it’s easy for you to input everything you need into your site later.
As mentioned earlier, if you’d rather not distract from your testimonials and CTA, link off to another page to collect additional testimonials.
6. Add a CTA
Last, but definitely not least, add a CTA to your page.
Here are some patterns you may like:


Testimonials Page Pattern
Want to fast-track your page design?
We’ve created a new testimonials page pattern just for you, so all you need to do is put in your content and edit the Mai Testimonial block settings to your liking.
Closing Thoughts
Social proof is powerful—meaning a testimonials page is invaluable to your brand. You potential customers want to learn more about you and if you are a good fit for them, so organizing all your testimonials on a page is a smart idea to earn their trust and show that you are qualified to help them solve their problems.
Remember, if you want to build a testimonials page the way described in this post, you need the Mai Testimonials plugin, included in the Mai Theme Pro Bundle. With Mai Testimonials, your testimonials can be easily displayed on any page using powerful and dynamic testimonials layouts.
Download the How to Start Blogging Guide
Explore this FREE GUIDE to take a deep dive into how to start blogging to make money. Get a PDF version of this guide right to your email, plus weekly tips from our blogging experts at BizBudding.